This guide will show you how you can set rules in Microsoft Exchange, which redirect emails containing payment card information to ShieldQ's secured Inbox.
Steps
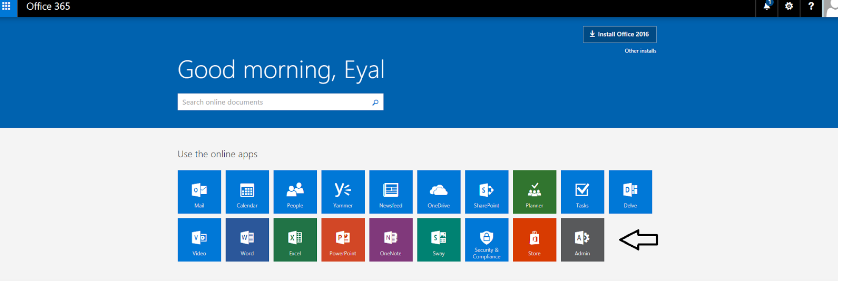
- Go to the Office 365 portal and log in to the portal.
- Click the "Admin" icon.
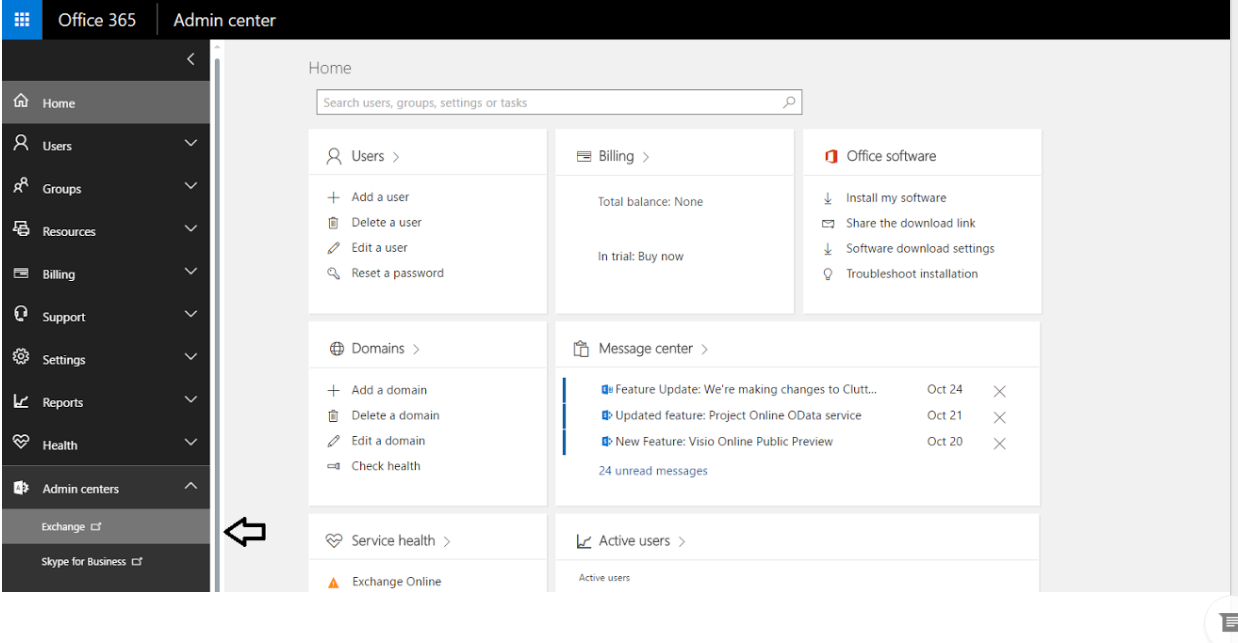
3. On the menu bar on the left, expand “Admin Centers,” and select “Exchange.”
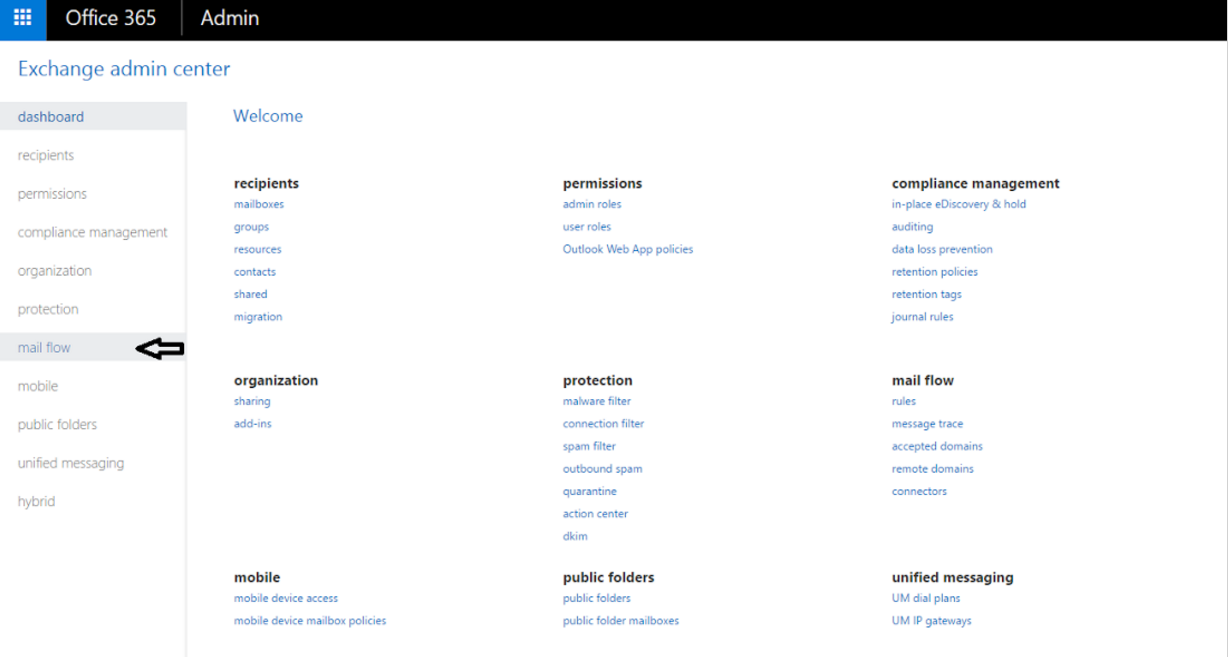
4. On the menu bar on the left, go to “Mail Flow.”
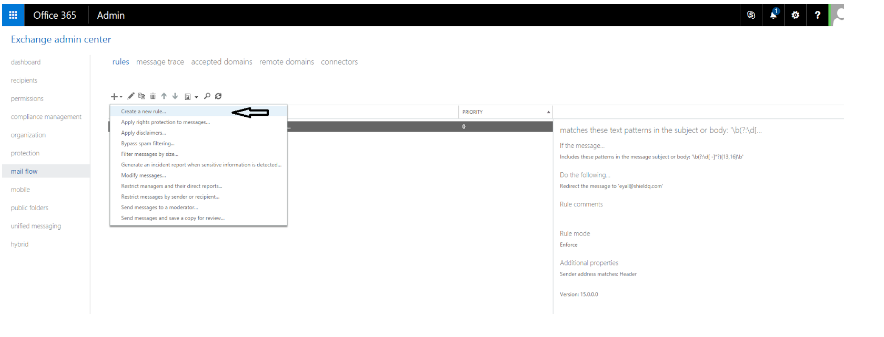
5. Click the “+” sign, and select “Create a new rule.”
6. At the bottom of the new page, click on “More options:” this action expands the list of settings for you to use.
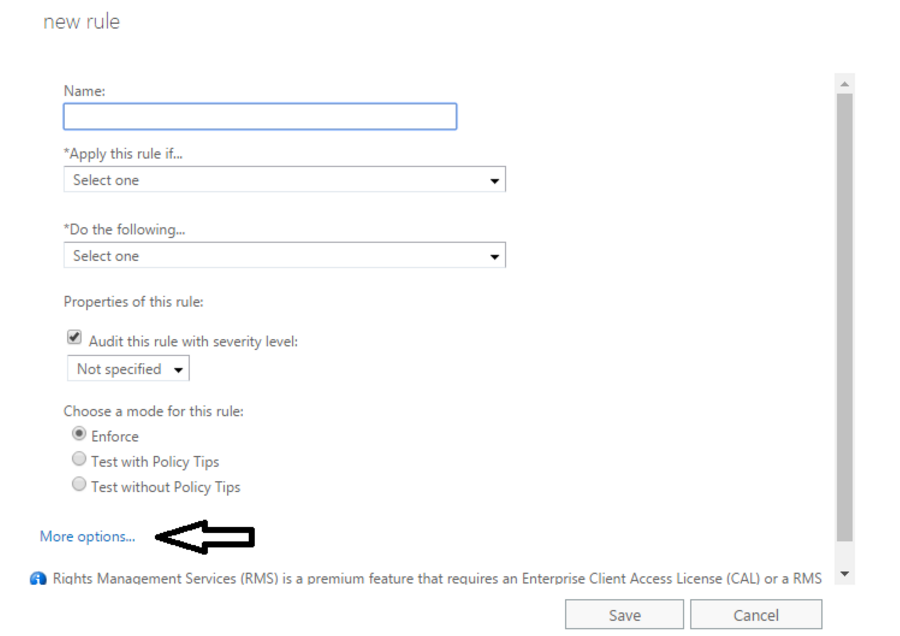
7. Enter a name for the rule; for example, “Filter credit cards to ShieldQ.”
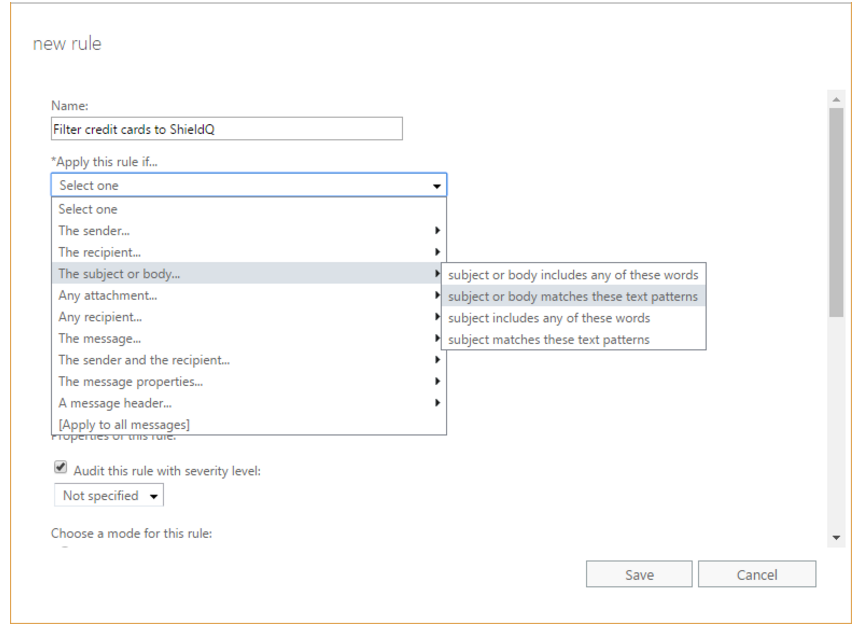
- In the “Apply this rule if…” option, select “The subject or body….,” and in the secondary menu, select “subject or body matches these patterns.”
- A pop up will appear, letting you enter the patterns. Enter the credit card pattern that you would like to use.
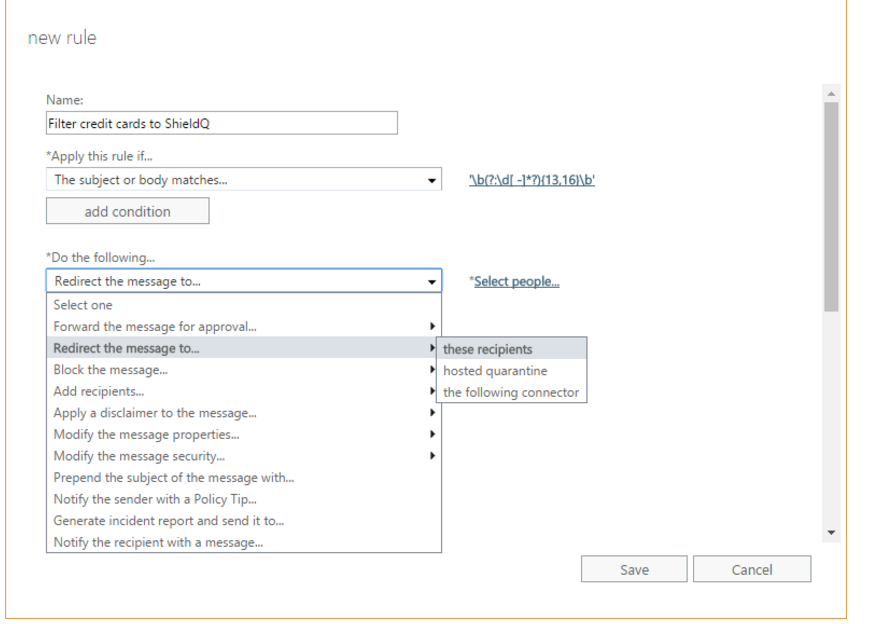
Note: We recommend a simple pattern: \b(?:\d[ -]*?){13,16}\b - Once you enter the pattern, click the “+” sign and then click “OK.”
8. To add more filter conditions, click the “Add condition” button, and set the condition settings.
9. In the “Do the following…” option, select “Redirect the message to…”; in the secondary menu, select “these recipients.”

- A pop up will appear, letting you enter the email address. Enter the ShieldQ email address at the bottom of the screen, next to the “check names” button, and click OK.
- Check the “Stop processing more rules” checkbox.
- Click the “check names” button to add the email address. Click “OK.”
- Add comments, if required.
- Click "Save."